Friday, October 29, 2010

Creative Cupcakes

So I was visiting Sassy Sites blog and saw where she'd posted pictures from Hello, Cupcake and What's New Cupcake?  And I saw some cupcakes that I just had to try to make.  So here are the wonderful cupcakes.  I made them for my churches Trunk or Treat we had tonight and needless to saw the apples were gone first, followed quickly by the hamburgers.


My daughter was able to win a cupcake before many were gone and she went for the apple cupcake before any of the others.  I was so proud :-)

Thursday, October 21, 2010

Free Baby Sling

Here's a site and code to get a free baby sling.  All you have to pay is S&H of about $12.00.  They have some really cute patterns and they have a sizing chart for you to measure what you are ( and if you don't have something to measure yourself, they have one you can print out)
http://www.sevenslings.com/index.php/content/home
Free code is "Halloween"
I know you can make these, but if you don't have time or a sewing machine or you need something for a baby present, I think these would be great.  You can use the code multiple times, you would just have to close out the window and reopen for a new order.
Enjoy!!!

Sunday, October 17, 2010

Car Seat Blanket Shield

So this is somewhat a continuation of my double stroller and car seat makeover.  I needed to make a cover since it's going to be cold when we have our daughter so I wanted something stylish and matching to shield her from the cold or the light if she was napping. 

Needed Materials:
46 x 40 inch piece of quilted fabric (or if you are wanting to use 2 different pieces of fabric - then you'll need 2 of these pieces)
2 packs of double fold bias tape (quilt binding) at 3 yards  7/8 inches wide (this will take you all the way around the blanket)
7 x 14 1/2 inch for the handle (or 2 pieces if you are using a lighter weight material)
velcro - width 1 inch,     5 inch piece (big thing on velcro- don't purchase sticky velcro- purchase sew on velcro!! Sticky backed velcro with ruin your sewing needle and mess you up big time)

I started with a quilted fabric that has a different pattern on each side that was a good weight but not too heavy.  I folded the fabric in half so that the sides that measure 46 inches are aligned.  I measured up 21 inches from the bottom (that will end up covering the front).  Next I cut out a 4 x 7 1/2 inch piece through both layers of fabric and rounded the inner corners


Then I unfolded the piece of fabric and rounded out the remaining corners


To attach the double fold bias tape, I opened the center fold to fit my fabric in the middle so that then when I laid the top fold back down my fabric was sandwiched in the middle.  Also you want to make sure your fabric is in the fold as much as possible so that when you sew, your fabric is secured in place.


Pin in place. Around the corners, I had to fold the bias tape so that it stayed close to my fabric.
Finish around the entire blanket and then sew a 5/8 seam or as close to the inner edge of the binding as you can to catch the most amount of fabric.
With the handle I double folded the 14 1/2 inch sides 1/4 inch and sewed.
Along the 7 inch sides I double folded 1 inch (or take whatever width your SEW ON Velcro is plus 1/4 inch)
Fold in the handle piece so that it is in the shape of a circle then overlap the width of your Velcro plus 1/4 inch.  This will be where your will want to sew on your Velcro (one piece on one side and vice verse)
Now before you sew on your handle, lay the blanket over the car seat half shield but under the handle.  Adjust the sizes and front and back to be where you will want it to lay.  Next pin the center of the handle piece of fabric to the blanket where you want it and sew 3 straight stitches 1/2 inch apart (make sure to back stitch at the start and end of each line to reinforce).  It's finished!! Yes and onto another project.


Thursday, October 14, 2010

Re-cover time

So when I found out we were pregnant with our 2nd I was at a consignment sale and decided to go ahead and buy a double stroller and a car seat.  They did not match each other and the car seat was neutral so that it would go with either a boy or girl.  Well found out we were having a girl and my 4 year old is also a girl so I decided to recover both the stroller and car seat for girls.  Here are the results.  I hope you enjoy.  I love them!!

BEFORE

BEFORE

AFTER

AFTER

BEFORE

BEFORE

AFTER

AFTER

My next project is going to be making a cover for the car seat that will be able to block the cold weather and light is little one is napping.


ANSWERS TO QUESTIONS:
Ok- Sorry this has taken a bit to get answered (things got crazy around the house).  Yes I was able to measure both the double stroller and car seat for the amount of fabric I would need. 
With the Baby Carrier:I was able to remove the cover and measured (I already alloted washing and folding under for a seam into these measurements)
the top part (where the babies back is) at 27 x 25
the bottom part (for babies butt) at 20 x22
the shield for over head (to sew onto the shield already there) 28 x8
baby head cushion 7 1/2 x 25

Now position the fabric over the center of the top part of carrier (mark where the straps need to come through the fabric).  I used a button hole stitch on my sewing machine and with mine even maxed to the biggest button- I had to do 2 to make it wide enough for the straps and then cut in the center.  You do this for any of the straps that need to come through the fabric.
Pinning the fabric to the center of the top piece is the simple part, it's the sides and corners where you have to do a lot of folds along the corners.  I sewed my fabric to the existing cushion to have a good guideline and some cushion already there.
For the Shield I was able to remove the shield from the car seat and fold the fabric around the front and then sewed that on and then for the top part I again folded the fabric and sewed it on top of the shield fabric I wanted to replace.

Double Stroller measurements:
Front Seat 17 x 15 and 12 1/2 x26
Back Seat 35 1/2 x 14 1/2

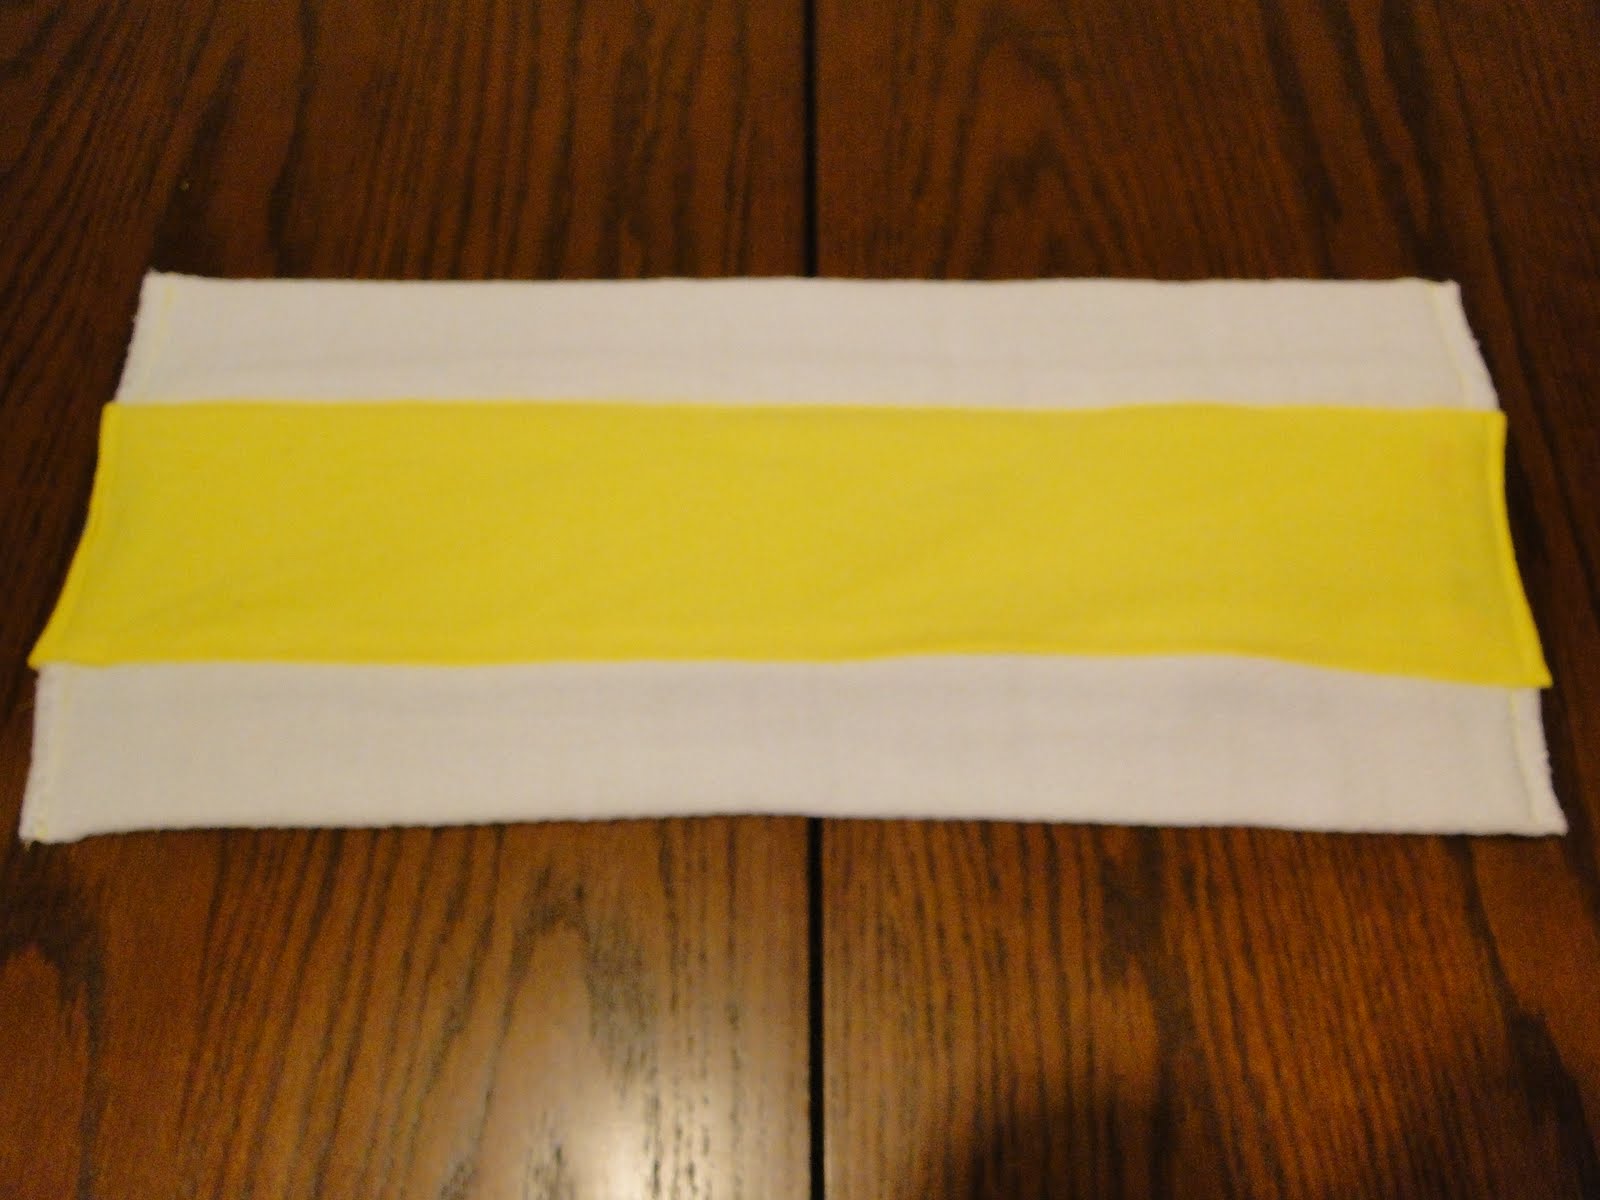
Shade 1 (for back seat) 46 1/2 x 5 1/2
Shade 1 little line 13 x 1 1/2 and 13 x 1 1/2 (there are 2 here because of the split in the shade for the plastic compartment attached to the stroller)
Shade 2 (for front seat) 51 x6
Shade 2 little line 51 x 6

With both seats I was able to remove some screws to get the fabric off the metal frame but the inner frame of the seats I did not remove.
The back seat was a breeze to go ahead and make slits for the buckles and lay the seat flat to sew the fabric.  The front seat was a different story and pain in the but because of the inner frame.  Piecing the front seat was a bit more difficult but not impossible. 

Just have plenty of patience, time, and pins to pin and repin fabric to where you want it.  I hope this helped answer any questions


Monday, September 13, 2010

Squggables!!!


So I was able to get the shop set up for the Squggables and am super excited.  I have a bunch of material for more Squggables and ideas to boot.  I hope you take and look and please give me any feedback what you like or don't like, or any ideas to you have.  Thanks!!!

Monday, August 30, 2010

Gourmet Spaghetti (Easy Style)

So I love love love spaghetti but I'm not a big fan of most of the spaghetti sauces out there, most are too tomato tasting for me).  So here is an easy recipe to make your own spaghetti with terrific tasting sauce.
All you need is:
1 lb hamburger
Spaghetti noodles (whatever type you like to use)
1 can tomato soup
1 can cream of mushroom soup

Cook noodles and brown hamburger.  Once hamburger is browned, add into a saucepan the tomato soup and cream of mushroom (yes I know it doesn't look that great when 1st mixing but it will be good).  Cook on low-heat for 5 minutes and then serve over your noodles.  You can add in onions is you want as well.

Fashion Headband Tutorial

I like to wear headbands that match my outfit but aren't just black or brown, so here's a tutorial on how to make your own fashion headband to match your outfit.
Start with whatever ribbon you are wanting to use and 2 hair ties.  For this head band I decided to mix 2 different ribbons, but you can make a headband from just 1 ribbon.
Next take the 2 hair bands and lay them slightly overlapping
Now take the bottom band that is underneath the other band and pull over the upper band
Next pull that band that you just pulled over, under the band to the right and pull.
Next you will need to cut your ribbon to 18 1/2 inches (however many ribbons you're going to use).  Then fray check or burn the end to prevent fraying.  I prefer the burn method as I don't have to wait for fray check to dry.  Then line up each of the ribbon over 1 side of the band.

I like to flip under 1/2 inch of the ribbon to allow plenty of room for sewing.
Then sew the ribbon together, making sure not to sew on the band.
Do this to both sides of the ribbon and then you have a completed headband.
If you have any questions or comments, let me know.  Enjoy creating your own headband.

Saturday, August 28, 2010

Inspiring You To Save!!: FREE Download of Digital Scrapbook Artist -

I found this at Inspiring you 2 save and I thought it was an awesome find and wanted to share. For any of you that scrapbook, new gadgets are always great to have. I do digital scrapbooking now as it allows me to "cut" a picture and use many different backgrounds multiple times and I don't have to keep buying embellishments. Also if I don't like with how it came out, I can delete/modify and start over without worrying about glue and embellishments stuck to other paper I'm not going to use. So hop on over and get a free download. You do have to enter in your payment information at the checkout, but it doesn't actually cost anything.

Inspiring You To Save!!: FREE Download of Digital Scrapbook Artist - Availa...: "Digital Scrapbook Artist is available again! Grab your FREE download of Digital Scrapbook Artist before its gone again. I hurried and got ..."

Sorry for my lack of posts

So as you can see I have done much posting this week.  I've gotten completely absorbed in a new line of stuffed animals.  So I've been picking and cutting out material like a mad-woman.  My husband had to remind I am only 1 person and having a full scale production is just not realistic to start out with.  Bless him for putting up with me and my whims of crafting.  I will put some pictures up once I get more made.  Then I will be back to posting crafts.  Thanks for your patience :-)

Monday, August 23, 2010

Potpourri Jar

I made a recipe the other night that called for orange marmalade and the only orange marmalade in the store was in a small decorative glass jar. I thought the jar looked really cute and couldn't stand to through it away so I decided to turn it into a potpourri jar.

I bought a bag of potpourri for $1.00 from Wal-Mart. I had some ribbon and lace at home that I decided to use. I used a big bowl to trace a circle with a marker on the lace so I would have a round circle.


Now I wrapped the ribbon around the top of the jar to see how much I would need to keep the lace on the top of the jar.  After putting the potpourri into the jar, I laid the lace on top and wrapped the ribbon around the rim over the lace and super glued the ribbon together (overlapping the ribbon slightly).  I added a bow for a little extra.  Now I have a nice smelling centerpiece for my table.


Saturday, August 21, 2010

New Book Bag

So I finished one of my "book" bags last night and I absolutely love it.  I find them so unique and eye catching.  I have one I carry around (different book) and it looks darling and it's a perfect bag for me.
This is my bag:


This is the bag I made and is on Etsy right now:

Friday, August 20, 2010

Ice Cream Cone Cupcakes

This was a try and fail so try again and succeed recipe.  I will show you what do and then what not to do for this recipe. 
Recipe:
1 package (18 1/2 ounces) cake mix, plus ingredients to prepare mix
2 tablespoons nonpareils (tiny, round, brightly colored sprinkles; found usually in the same area as cake mixes)
24 flat-bottomed ice cream cones
Prepared frosting (flavor is your choice)
Additional nonpareils and decorations for your cupcakes

1. Prepare oven to 350 degrees.
2. Prepare cake mix according to package directions.  Stir in nonpareils.
3. Spoon in batter to fill a little over half of ice cream cone  ( I will show you in pictures what happens when you over fill the cones).
4. Stand cones in 13x9 inch baking pan or in muffin pan cups.  Bake about 20 minutes or until toothpick inserted into centers come out clean.  Cool completely on wire racks.
5. Frost cupcakes and decorate

Here are the pictures of the good ice cream cone cupcakes: (my 2nd batch)


These were a huge hit for all the kids.  They actually tasted really good!!  I hope you enjoy as well.


Ok so when filling my first batch of cones I didn't think a little over half was full enough and I wanted my cupcakes to look like cones and not flat across the top.  This is what NOT TO DO:

This is called over-filling and thinking I know more than the recipe, haha.

And this is why you only fill a little over half way.  I hope none of you make the same mistake I made.

Thursday, August 19, 2010

Boutique Baby Burp Clothes


I went into a Baby Boutique the other day and saw these burp clothes I absolutely thought were adorable and that I wanted to make some.  There are a lot of pregnant moms that will be having their babies this winter so I thought "What better gift than one to be spit up on?".  Well I think having a fun design on burp clothes makes them not look so gross after they've been used.  These are really easy to make and super absorbent.  I bought a 12 pack of prefold birdseye 3-ply cloth diapers with absorbent padding and then looked through some of my left over flannel fabric I had from making other burp clothes and found some material that would work.  Wash both the cloth diapers and flannel material (or whatever material you choose to use) before sewing them together.  That way if either do shrink a little, it will be before they are sew together and then it may not turn out as you want it.
Lay your cloth diaper out and then I folded the non-padded edging (the horizontal edges in the picture) in towards the padding.  I folded each side into the 1 seam before the padding in the middle and pinned.

I then measured out how much flannel I would need, which ended up being 5 inches x 19 inches.  This allows for you to turn the fabric under 1/2 inch and to cover where the sides were folded in.  ( Side note: You can also substitute using flannel for 2 strips of cute ribbon along the folded in part to just add some embellishment to the burp cloth) 
To make the 1/2 inch turn under easy, I took my iron to the flannel and pressed the fold so it would lay down without having to pin the flannel.  I then laid the flannel in the center of the folded diaper and then took out the pins from the diaper and then put them through both the flannel and the diaper for sewing.
Now you have your burp cloth.  The possibilities are endless, it's just finding the fabric design you want to use.  They make great personalized gifts.  Have Fun!!!
If you have any questions or comments, feel free to let me know:  myfashionfun@hotmail.com

Tuesday, August 17, 2010

Shirt into skirt

Well my husband is always saying I have way too many clothes and shoes (I only take up a little bit more space than he does of our closet). So I decided to go through my clothes and pick out the ones I've only worn once (due to them not being flattering at all) or that I don't wear anymore. I was trying to think of what to do with the extra clothes. I have a couple tops that I absolutely love the material, but just not the way it fits on me. Out of the pile I picked out a top that I thought would make a great skirt for my 4 year old daughter.

First I wanted to make sure the skirt would be long enough with up to a 1/2 inch hem.  I held the shirt up to my daughters waist (hold the shirt below the sleeves where I would be able to cut straight across) and was able to see it would make around a knee length skirt. 


I then cut straight across the front layer of the shirt and then followed with cutting the back (making sure the bottom of the shirt was lining up correctly)

As you can see the bottom of the shirt isn't straight across as I would have liked it.  Next with this shirt it had elastic in the bottom that I had taken out prior to starting this project (I cut into the fabric along each side hem and was able to remove the elastic without undoing the hem already in place).  Since that was already done and I had the 1/8 inch elastic from pulling it out earlier, I was able to measure my daughters waist and then cut off the extra elastic.  Then I attached a small safety pin to one end of the elastic and pushed it through one of the cuts in the hem I had already made and then fished it through the rest of the hem.  Using the safety pin makes it really easy to get the elastic all the way through.  One word of caution as you fish the elastic through is not to lose the other end of the elastic while you are pulling through.  Once done with that I was able to sew the elastic together with it overlaping 1 inch.  (Side note: If you have a shirt that does not have a hem that you can put elastic in, fold the top or bottom of the fabric under 1 inch and then sew at 3/4 inch.  That should accomodate 1/8 inch and up to 1/2 inch elastic depending on what you use)
Next I added a 1/2 inch hem long the bottom of the skirt.  I wanted to add something to it so I found some purple ribbon that matched perfectly with the material.  I lined up one side of the ribbon with the very bottom of the skirt and sewed along the edge and then did the same to attach the top of the ribbon to the skirt.

I think it turned out great and my daughter loves it.   
                

I hope you enjoyed my first blog.  If you have any suggestions or comments, please let me know.